The AGM house batteries in my Sprinter based RV are starting to perform very poorly. It's time for an upgrade, and I don't want to go the AGM lead acid route again. I've been keeping an eye out on LiFePO4 batteries because 4 cells in series works well with a standard 12V DC system.
An ebay seller had an interesting packaging for a 12V 100Ah pack. He was putting them into metal ammo boxes PA-19, and including a balancer and a battery voltage meter.
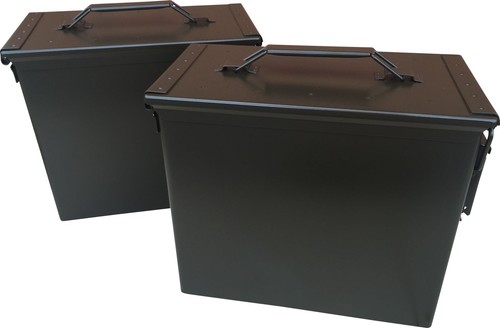
Specs for the PA-19 ammo cans
The GB 100Ah cells are a perfect fit in these, and there's still space left over for a balancer, maybe a breaker, and hopefully an exit for the wires. It's waterproof, so the batteries can potentially be mounted on the underside of the vehicle. It's also fire resistant, even though that's less of a concern with LiFeP04 batteries than regular lithium ion, there are still incidents where they catch on fire.

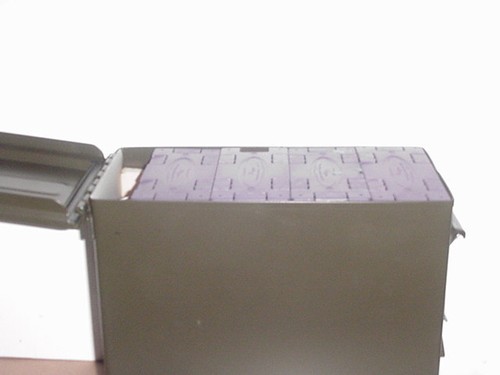
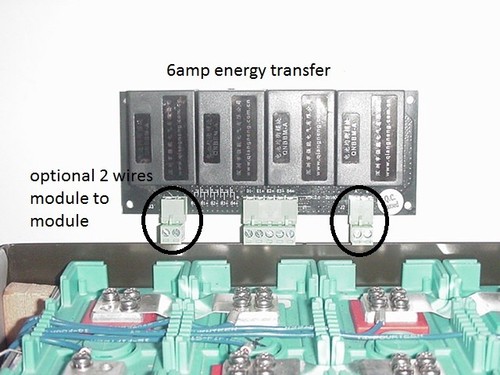
An ebay seller had an interesting packaging for a 12V 100Ah pack. He was putting them into metal ammo boxes PA-19, and including a balancer and a battery voltage meter.
Specs for the PA-19 ammo cans
- 8140-00-145-0051 PA-19
- Interior Dimensions: 11 x 5-9/16 x 9-8/16
- Exterior Dimensions: 12-1/32 x 6-3/32 x 10-5/16
The GB 100Ah cells are a perfect fit in these, and there's still space left over for a balancer, maybe a breaker, and hopefully an exit for the wires. It's waterproof, so the batteries can potentially be mounted on the underside of the vehicle. It's also fire resistant, even though that's less of a concern with LiFeP04 batteries than regular lithium ion, there are still incidents where they catch on fire.
Here's one source for the cells:
- http://elitepowersolutions.com/faq.html
- http://www.batteryspace.com/lifepo4-prismatic-battery-12-8v-100ah-1-28-kwh-10c-rate---un38-3-passed-3-2vx4-dgr.aspx
Wiring
Wire Gauge
Here's a good chart for the gauge of wire to select. Looks like I will want 2 AWG extra flexible for a short length. (individual strands are 30 guage.)
http://assets.bluesea.com/files/resources/newsletter/images/DC_wire_selection_chartlg.jpg
Crimped on eyelets need to be used to terminate and attach the wire.

The eyelets can be crimped or soldered, but in my experience soldering is time consuming because the copper is such a good heat conductor. Crimping will be faster, and less chance of melting the wire insulator. Here's the crimp tool I chose.

Here's a good chart for the gauge of wire to select. Looks like I will want 2 AWG extra flexible for a short length. (individual strands are 30 guage.)
http://assets.bluesea.com/files/resources/newsletter/images/DC_wire_selection_chartlg.jpg
Crimped on eyelets need to be used to terminate and attach the wire.
The eyelets can be crimped or soldered, but in my experience soldering is time consuming because the copper is such a good heat conductor. Crimping will be faster, and less chance of melting the wire insulator. Here's the crimp tool I chose.
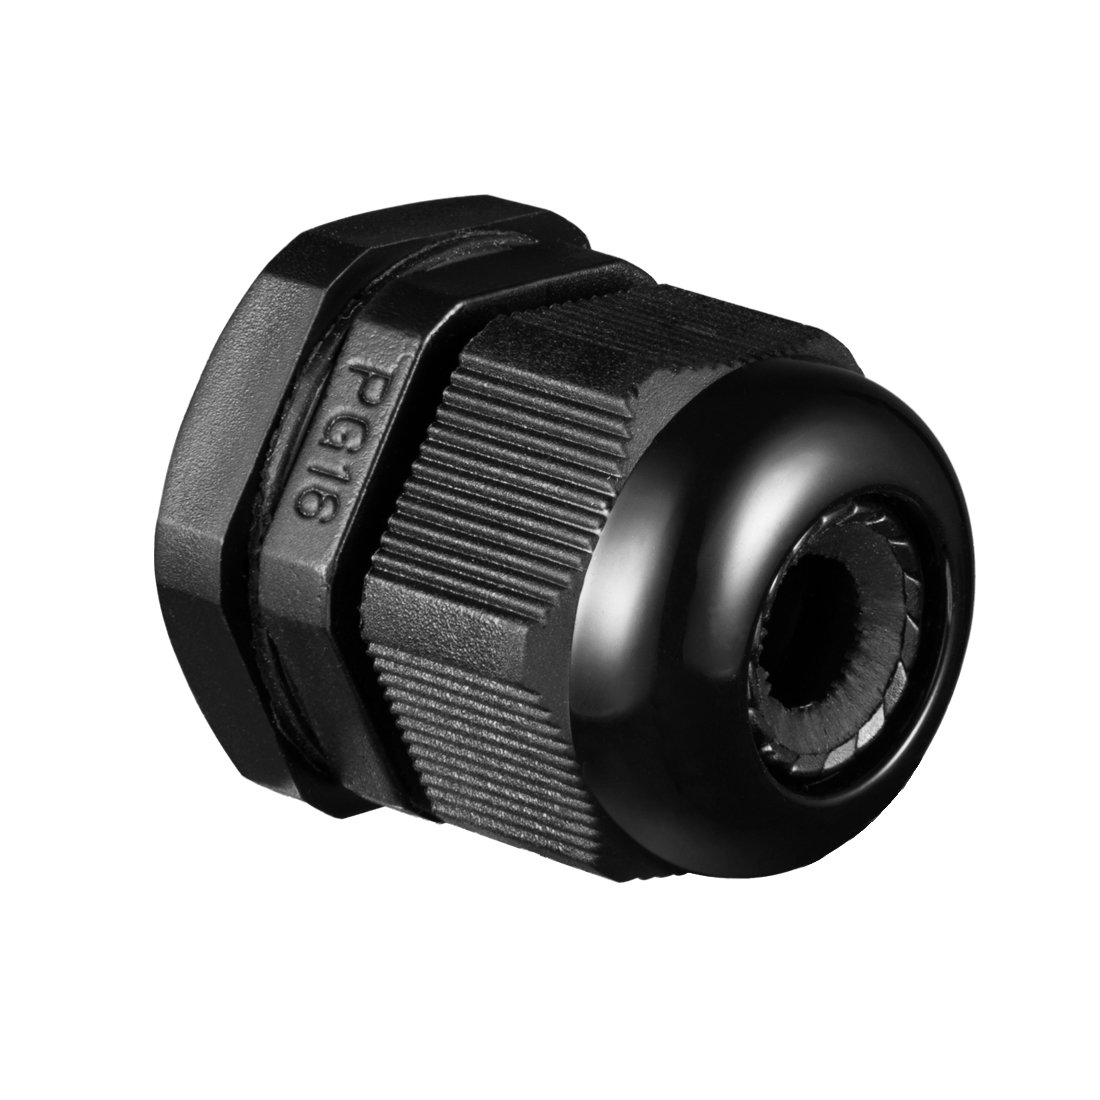
Two holes are drilled in the side of the box to run the wires out. Two waterproof sealing grommet glands are used to pass the wire through and provide a tight seal.
Inside the box is a self resetting breaker for short circuit protection. In this case I used a Buss DC 120A Type 1 breaker. Another breaker will be installed outside the batteries after both batteries have been combined.

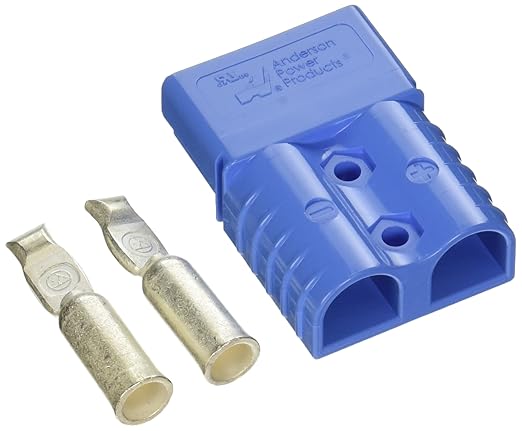
Outside the individual battery boxes, I plan to use some Anderson SB120 connectors, that way each battery pack can be easily removed. There are also waterproof boots available for these connectors, which is great if you're installing this anywhere that could get wet, like in my case under the vehicle. Here's the pdf info on the boots.
These are the parts that I purchased from Online Components:


These are the parts that I purchased from Online Components:
- Anderson SB120 Housings Red (Blue and Grey also avaiable) - 6810G3-BK
- Anderson SB120 Contacts for 2 gauge wire x 2 per connector - 1319-BK
- Anderson SB®120 Environmental Boot, Load 3-6035P1-BK
- Anderson SB®120 Environmental Boot, Source 3-6034P1-BK
Two 12V packs will be connected in parallel and pass through a Low Voltage Disconnect relay. This will cut off the power if it drops below the threshold voltage to prevent permanent damage to the batteries.
Nice blog. RV House batteries are used in supplying energy for a prolonged period. For more information visit:http://www.powergenixsystems.com/best-rv-battery-under-review/
ReplyDelete